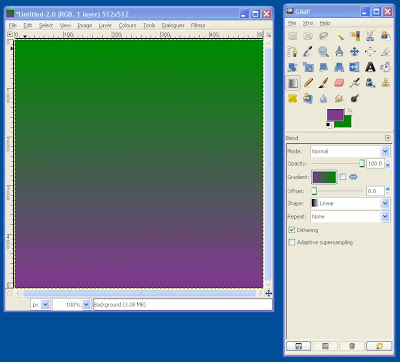
1. Open up the Gimp: File->New and set the image size to 512x512 Pixels.
2. Select the Gradient Tool and select two different colours for the foreground and the background (two similar tones for a more natural effect, or in this case purple and green for a texture that stands out).
Draw any gradient on the image:
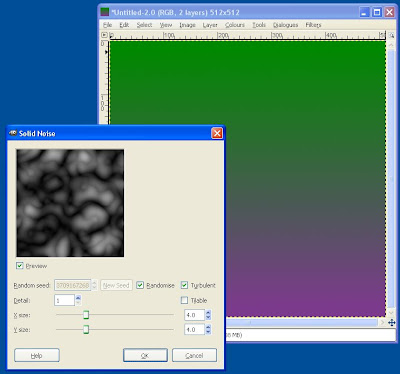
3. Right Click on your image and elect -> Filters -> Render -> Clouds -> Difference Clouds
On the Tool screen that opens select the Turbulent option, this helps create a more organic finish, but apart from that just experiment with the other settings to create different results.
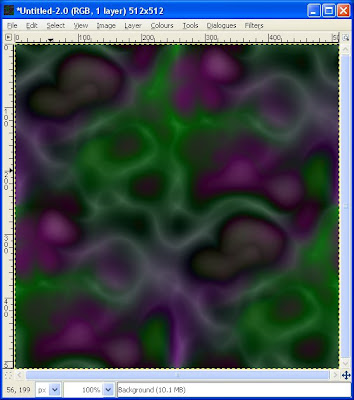
4. Make the Texture seamless by right clicking on the image and selecting Filters->Map->Make Seamless.
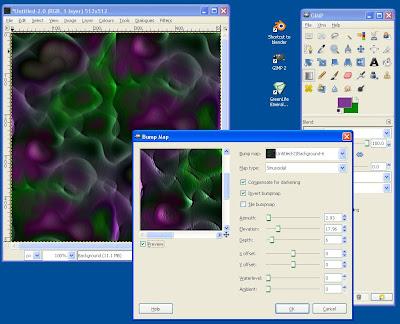
5. You can leave the texture there but sometime I like to add a little more depth to the final result by Right Clicking on the image and selecting Filters->Map->Bump Map, from within this screen play around with the settings to create the look you want.
There you go, quick easy and painless Organic textures in Gimp. :)
excellent
ReplyDelete